There is a style in the paneling of almost every decor. Choices include rustic boards, frame-and-panel designs with or without moulding, and elaborately made panels.Wall panels improve and add variety to the look of interior space. They come in many choices of styles and thicknesses.
Regardless of these variations, installation of wall paneling is an easy procedure with the right steps. Following the below-mentioned steps will surely help you out in how to go about adding wall paneling to your home.
- Material estimation
Firstly you need to know the requisites for this process, and then you go by the steps included. Paneling is available in boards and sheets both, but sheets are a little easier to install as they usually come in 4×8 pieces. Measuring the total square footage of the wall or area to be panelled is the first step here to approximate how much you will need. Boards come in widths of between 3 and 10 inches and may have either square, tongue-and-groove, or shiplap edges.
- Prepare the wall for paneling
Leaving the sheets where they will are to be installed for two to five days increase their adjustability to the temperature and humidity.Panels which are wider than 1/4-inch do not require backing and can fit on wall frames with no issue. Ensure that the wall is flush and even, before locating the studs and making lines on the wall to mark their location. Furring stripsmust be attached to the studs plumb and flat for ensuring the panels are laying flat. Leave 16 inches distance whether horizontally or vertically, with blocking added every four feet in the middle of furring. Left a 1/4-inch space at the top & bottom of the wall to account for any uneven areas in the floor and ceiling. It’s better to use anchors than glueing the panels.
- Measuring and cutting the panels
Be careful while measuring, marking, and cutting the wall panels. Each sheet should be 1/4 inch shorter than the gap between the floor &ceiling. Apply adhesive to the framing in a zig-zag pattern. Use four finishing nails through the top edge of the panel, place the panel on the wall in a way it leaves a 1/4-inch space at the bottom, and drive those four nails partway straight into the wall. Now pull the bottom edge of the panel about 6 inches from the wall and push a block behind the sheet.
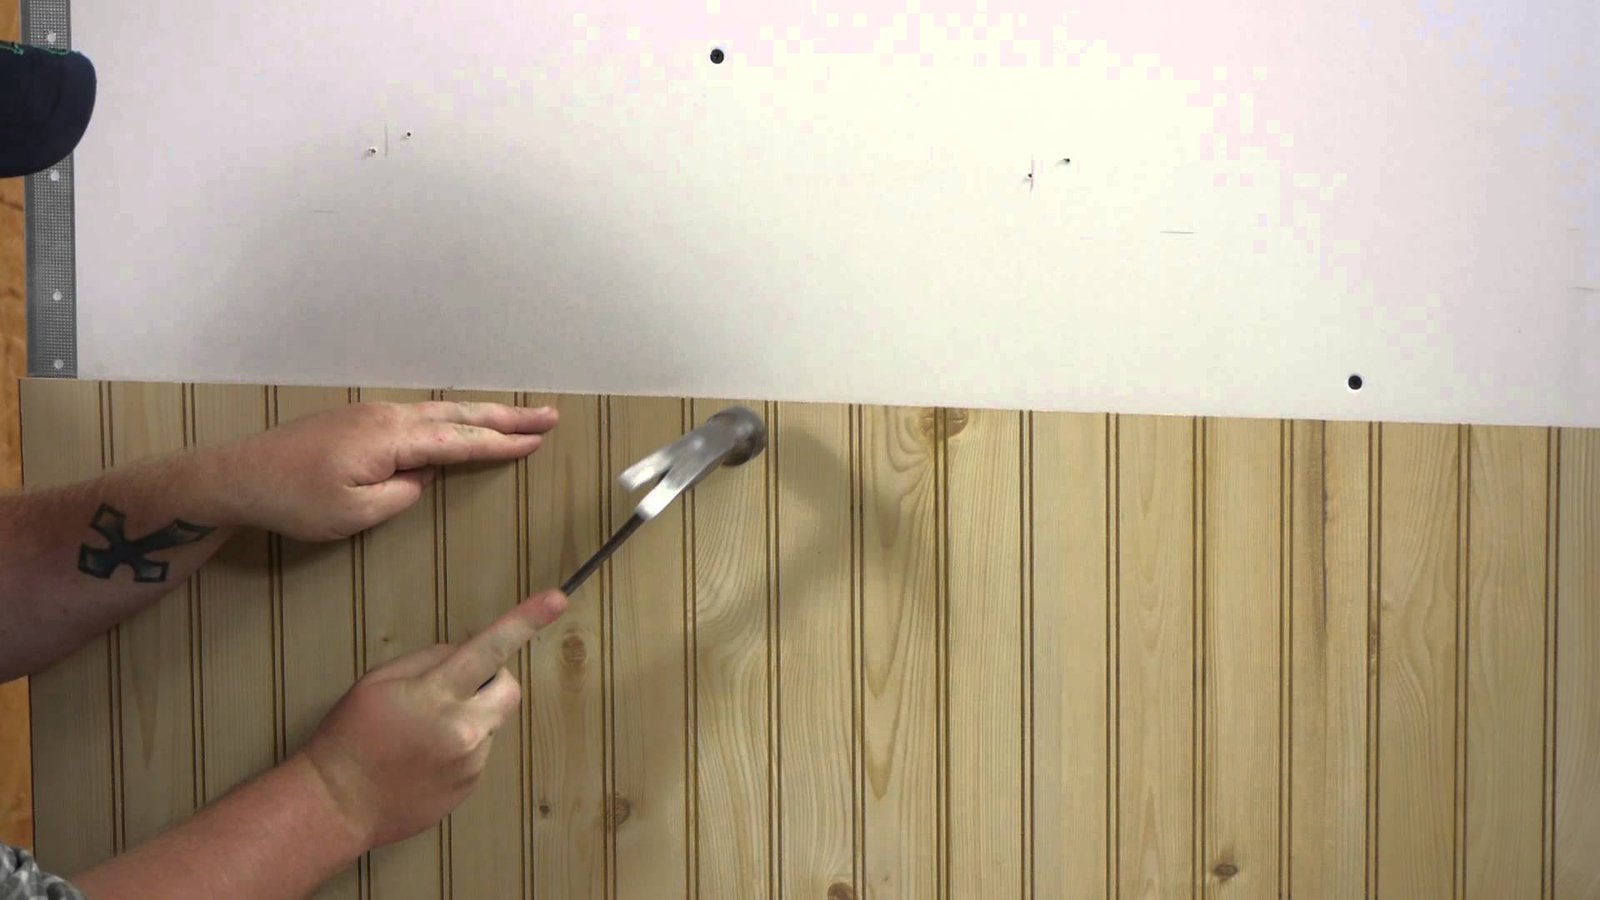
- Attaching the panels to the walls
After the adhesive becomes tacky, press the wall panels into place and tap them with a hammer to secure their bonds.Drive nails every four inches on the ends and every eight inches everywhere else, also keep a cloth over the hammerhead to prevent damage.
Paneling makes an existing wall thicker than before; hence, one will need to modify windows, doors jambs, etc. accordingly to save an extra space. Though wall paneling installation is a time-consuming work but doing it with alternate materials will save you much time and make your house smarter, safer & robust with Samurai wall panels by Nohara. They have been in manufacturing and installing anti-noise, nature-friendly, recyclable, cost-effective wall panels since decades are accessible at https://www.nohara.in/ease-of-installation/
